Take Advantage of ProLine’s Customer Services
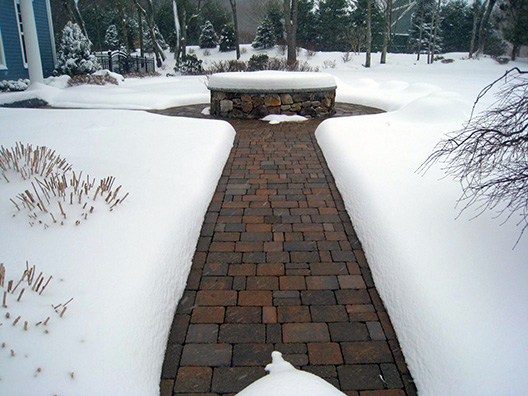
Radiant snow melting systems offer a clean, efficient way to keep driveways, sidewalks, steps, ramps, and more free of snow and ice during the cold winter months. These automated systems are designed to operate only when needed. The systems utilize advanced sensors that detect temperature and precipitation, so when weather conditions warrant, the system turns on. The driveway (or other surface) is then warmed to prevent snow accumulation. An “after-run” function keeps the system on for a short time after the snowstorm to dry the area and prevent slick sheets of ice from forming.
Installing these systems is relatively simple; however, there are still some common mistakes made by installers. Most of these mistakes can be avoided by taking advantage of ProLine’s free training and installation support services. There are also several other steps you can take to avoid common blunders and ensure a timely, proper installation so that your radiant heating system meets all your expectations.
Steps to Ensure a Proper Installation
The Number One Way to Limit (or eliminate) Mistakes is to Take Advantage of ProLine’s Industry Leading Support Services
One of the biggest mistakes that installers make is not taking the free installation training course. ProLine training features an experienced instructor who will cover all the aspects of your installation, so you can proceed with confidence. This is the best way to gain an understanding of the basics of installing automated snow melting systems, and can help you avoid making mistakes. The courses are available online via web conference and are typically completed in less than an hour. However, you can stop at any time during the training and ask your instructor questions about your installation.
Unlike other wholesale providers, ProLine also provides professional system design and layout services (in addition to the free training). This detailed layout of the system serves as a road map for installers. Referring to this throughout the installation will certainly help to limit installation mistakes. The system design includes the precise layout and materials of the system as well as the proper load calculations, breaker sizes, number of breakers, and so on.
ProLine’s radiant heat products and system components are second to none; however, even the best components cannot overcome improper installation techniques. Take advantage of the free training, system design, and other support services offered by ProLine. ProLine’s tech support staff is the best in the business, and we stand ready to assist you at any time during the installation. For more information, call ProLine today at 866-676-9276.
Avoid Making These Common Installation Mistakes
Proper Spacing: Maintain proper cable spacing and never allow the heat cable to cross or touch. Unfortunately, violating this “spacing rule” is all too common. The minimum cable spacing is 2-inches. If the cables are closer than 2-inches this can cause it to overheat and fail.
Never cut the cable: To make turns with the mats, cut the tape backing and turn the mat accordingly.
Periodically Test the Heat Cable During the Installation. Follow the instructions in the installation manual and conduct OHM tests of the cable before and throughout the installation process. Write the results on the warranty card provided. (This helps to ensure that your warranty remains valid.)
Check Your Components Upon Receipt: Prior to Beginning the Installation, check to make sure you received all the correct components and heat cable. Prior to applying the concrete, asphalt or pavers, lay your heat cable out in the area to be heated to ensure that you have the right amount of cable. Also, in concrete applications, always secure the heat cable to the remesh at regular intervals. Use Mesh-Ups® support chairs to keep the remesh from resting on the ground during the pour.
Embed the Splice and 6-inches of the Power Lead: Make sure the splice and at least 6 inches of the power lead is embedded in the paved surface.
Install the Snow Sensor in a Proper Location: Never mount the sensor next to a wall or someplace where it is not exposed to the weather. Install your aerial-mount sensor above the roof line. The system’s activation device must have an unobstructed 360 degree view of the sky to properly detect falling snow. Any nearby obstructions can prevent snow from falling onto the sensor, delaying or preventing it from triggering the system.
Never run Heat Cable (or mats) Through an Expansion Joint: All heating cable should be isolated to a single pour area.
Use the Proper Equipment: Avoid using sharp metal trowels and shovels when tamping or spreading the concrete over the radiant heating cable. Be very careful to avoid damaging the snow melting cable.
Use Supports to Prevent the Heat Cable from Resting on the Ground During the Concrete Pour: Heat cable should be elevated so that it remains within about 2-inches of the completed driveway surface. Small plastic Mesh-Ups® support chairs can be fastened to the remesh to provide support and prevent the heat cable from being pushed to the ground.
To learn more about radiant heat, or our support services, call ProLine today at 866-676-9276 today.

