ProLine’s Products, Prices, and Resources Help Ensure Your Success
The U.S. economy is enjoying its third largest housing boom in modern history according to Robert Shiller, a Nobel-prize winning economist and financial expert. That’s good news for professional builders, but news like this can also mean more competition. Every builder and his/her cousin is looking to take advantage of the demand.
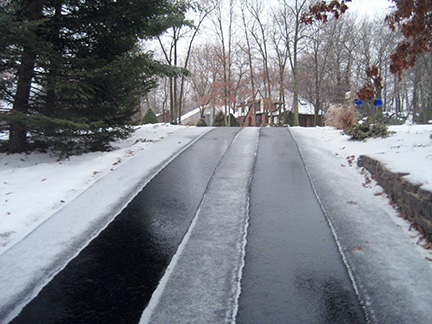
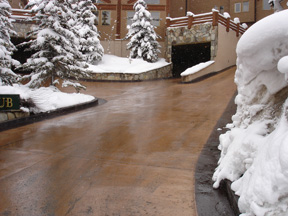
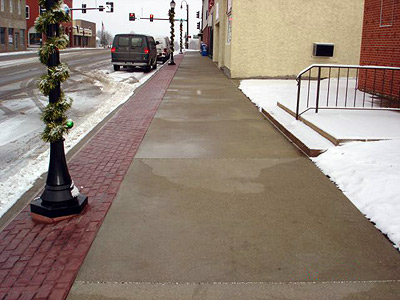
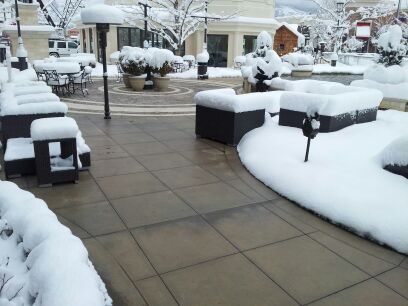
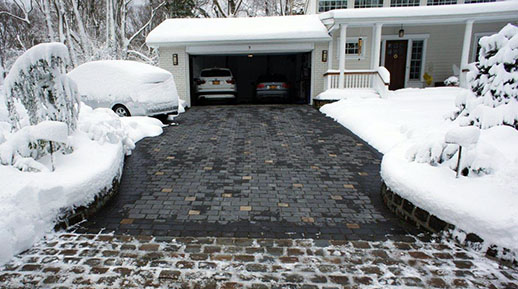
So how do contractors beef up their bottom line and distinguish themselves from the masses? One option is to add radiant heat installation to your list of services. Many homeowners are looking to install heated driveways, and offering this capability not only gives you a leg up on the competition, but can also beef up your bottom line.
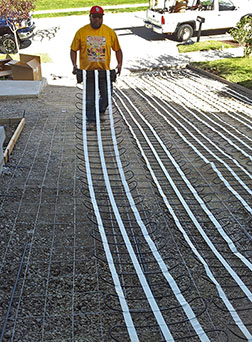
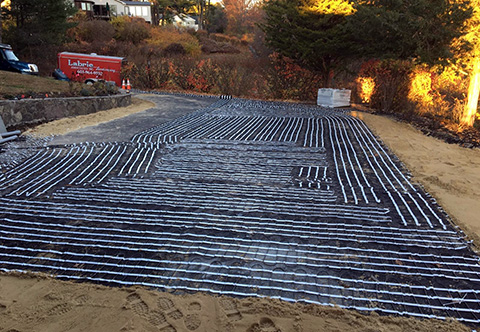
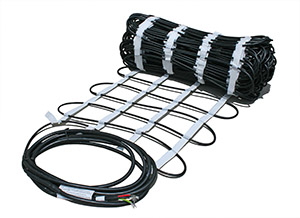
Adding radiant snow melting system installation to your hardscape services can be a great way to build your business without investing additional capital. While some construction professionals may be intimidated by the thought of installing a snow melting system, ProLine makes the process surprisingly easy.
A Unique Wholesale Provider
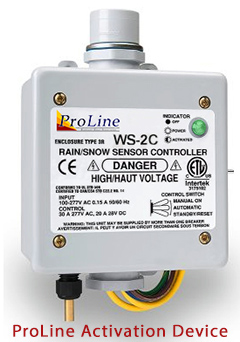
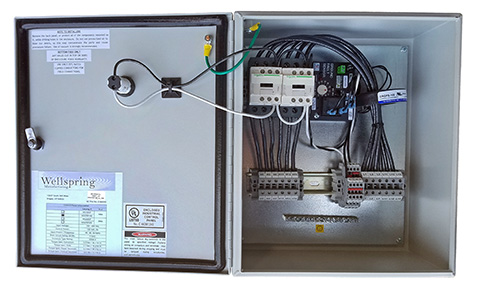
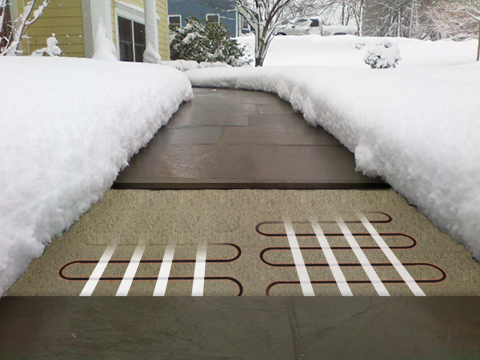
ProLine’s industry leading support services include professional system design/layout services. This is a road map for installers, featuring the layout and electrical schematics and information, including proper load calculations, breaker sizes, number of breakers, and so on. The installer (and electrician) will have all the information needed to successfully complete the proper installation.
Our design team includes mechanical and electronics experts, design/draftsmen, and other qualified individuals. Their combined experience results in highly efficient systems for all types of radiant heat applications. In addition to working with architects, engineers, project managers and contractors, we are also especially adept at working with inside and outside sales reps to provide free consulting and detailed quotes – all at wholesale prices!
One of the most popular (and valuable) customer services we offer is ProLine’s free installation training. Installers can sign up to take the training course at their convenience. The instructor covers every aspect of the installation. The courses usually take about an hour, but the installer can stop and ask questions at any time. ProLine offers free training courses at the Salt Lake City office or the classes can be completed online with the instructor via Webex™.

We understand that radiant heat systems are only as good as the installation, which is why we have a dedicated staff of experts on hand to assist you during the installation process. Installers who have any questions during the installation can simply pick up the phone and call our team of installation support professionals and we’ll gladly walk you through the issue at hand.
When you purchase from ProLine, you partner with a team of radiant heat experts. We stay with you throughout the installation process to help ensure that the system is installed correctly and performing as expected. Going the extra mile with our customer services is why we are confident in our claim of offering the best, most comprehensive customer service in the industry.
Proven Products and a Complete Solution
Radiant heat is our sole focus, and we’ve become the best in the business at it. We have established ProLine Radiant as a trusted industry leader by combining unmatched customer service with the industry’s most advanced and proven radiant heat technologies and products. Our electricians and designers have experience providing innovative heating solutions for commercial and residential applications alike throughout the United States and Canada.
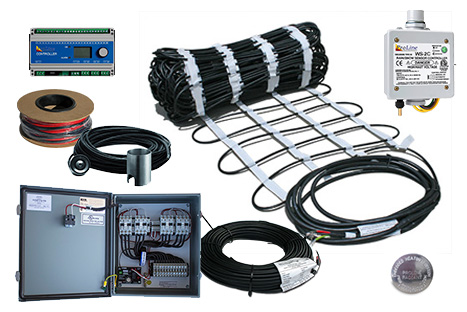
ProLine Radiant offers only the latest, most proven and trusted radiant heat products available. We carry a wide variety of solutions, all at competitive pricing; and our manufacturer warranties are second to none. Our experts will take the time to match you with the best solution possible for your specific needs. Call us today for more information at 866.676.9276.